Introducing the PCoIP Configuration Utility
PCoIP Configuration Utility allow users to create personalized PCoIP profiles and apply those profiles to the current PCoIP configuration. Users could eventually setup PCoIP to operate better in LAN or WAN environment; or mimic XenDesktop ICA compression.
PCoIP Configuration Utility
This tool is intended to be dropped into a virtual desktop – and probably started at boot/login if it’s not already running – and it will allow the desktop user to select from a list of PCoIP profiles. The profiles are “applied” by editing the registry and setting the desired values for the PCoIP parameters. You then need to disconnect/reconnect and the new profile will take effect. The tool comes pre-loaded with a few default profiles which you can delete or edit as you see fit. Don’t read too much into the names at this point ![]() It also allows you to take any existing profile, customize it and then save it under any name you wish.
It also allows you to take any existing profile, customize it and then save it under any name you wish.
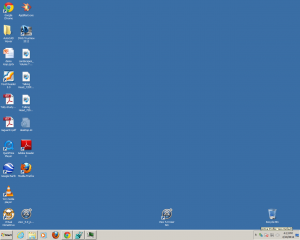
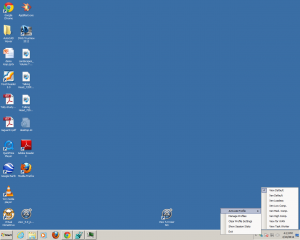
The utility runs as a systray application so you may need to tweak your settings to insure the icon is always visible (if you want it to be) and all major functionality is accessed via a right-click on the systray icon.
Systray Icon and active profile tooltip
Menu and profile list
Operation
Operation of the tool is fairly straightforward but I’ll cover the menu items here in order for completeness sake:
Activate Profile
This menu option will pop out a list of all available PCoIP profiles and you can then simply click on the profile you wish to activate.
Manage Profiles
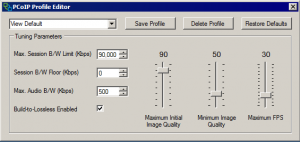
This option opens a new window allowing you edit/create/delete profiles:
The Profile Editor window
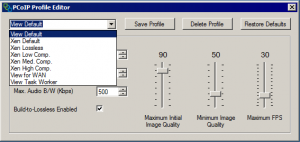
Profile selection within the editor window
The values you can adjust here relate directly to the GPO settings (though the wording varies a bit).
- To edit an existing profile just select it from the drop-down list, adjust any parameters as needed, and then click ‘Save Profile’.
- To create a new profile begin with an existing profile, edit it, then type in a new name within the drop-down list and click ‘Save Profile’.
- To delete a profile, select it, and click ‘Delete Profile’
- To remove all existing profiles and reset to the default profile list, click ‘Restore Defaults’
- To close the Profile Editor window, click the close button in the upper right.
Source and more: http://mindfluxinc.net/?p=338#
Similar Posts:
- Delprof2 - User Profile Deletion Tool
- The Alternatives for Mandatory Profiles
- Installing Android 2.2 on Hyper-V
- VMware View 5 details emerge
- Installing and Testing Citrix VDI-in-a-Box


